10 Fixes Most Used Bikes Need
In this Article
Published on October 25, 2022
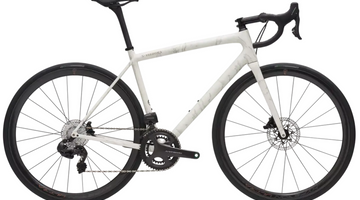
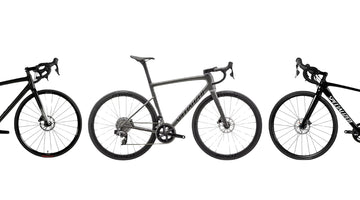
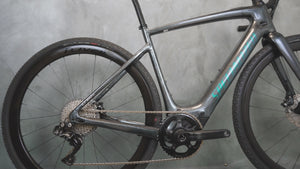
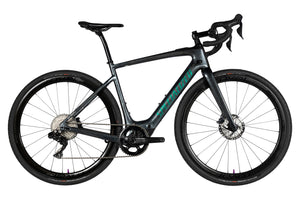
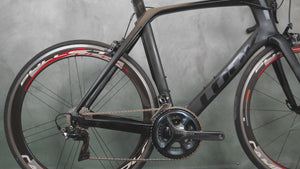
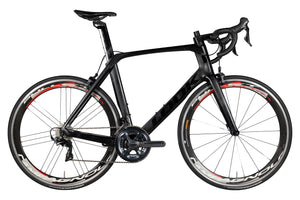
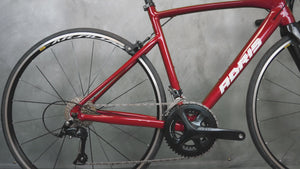
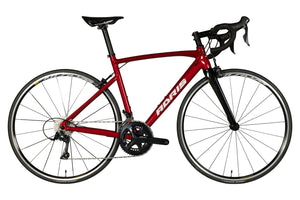
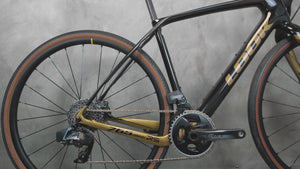
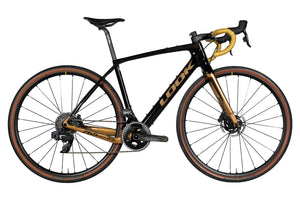
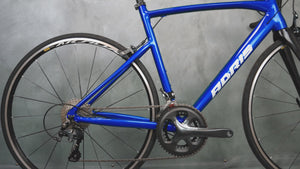
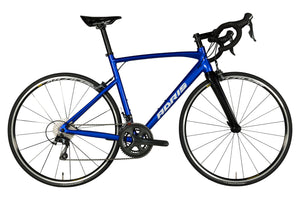
You have just acquired a second-hand bicycle and we congratulate you: the second-hand market is flourishing and, provided you have followed our advice you have certainly made a good deal. But if this purchase is synonymous with new adventures, it also implies new responsibilities, among which the one to maintain your machine in order to preserve its value, and, one day perhaps, to resell it at a good price.
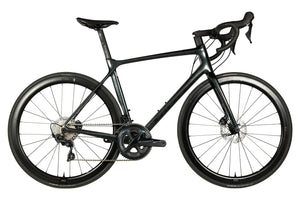
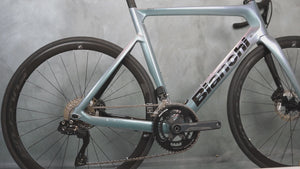
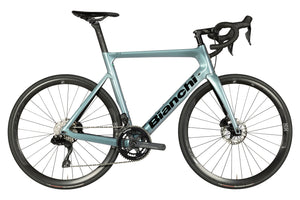
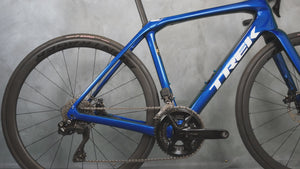
A bike is a set of often complex parts, each requiring specific maintenance (chain, disc brakes, tubeless tires, etc.). In this article, we offer you our top 10 of the most common interventions performed on a used bike. If you have done business with The Cyclist House, don't worry: our bikes are subject to a thorough inspection by our professional mechanics, which means that this top 10 has been covered extensively during the tune-up. Our certified pre-owned bikes are even awarded a condition score to guide you in your choice. In short, the transaction has been completed safely and in good spirits; you are happy with your purchase, but the hard part begins: the maintenance of your bike is now your responsibility. Let's have a look together!
If you want to sell your bike, see our article on sale.
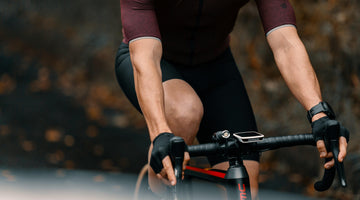
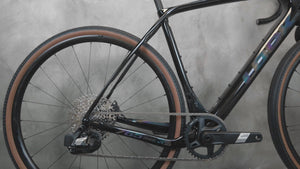
1. Cleaning your bike
Let's go for this top 10 with, let's face it, a not-so-great activity: washing your bike. Before you start, make sure you have the following products at hand: for cleaning, a product cleaner and a soft-bristled brush (or sponge); for degreasing, a cleaning product degreaser and a hard bristle brush. If, like me when I started, you are a bit lost when faced with the range of these cleaning products, this video should help you.
- Wet your bike (the degreaser will work better if the dirt is soaked in water). Please, no pressure jets.
- Apply the degreaser to the chain and gears only : cassette, derailleur wheels and chainrings. Other components (bearings, discs, etc.) do not like it.
- Apply the cleaner to the whole bike and scrub it thoroughly: hard bristle brush for the transmission, soft bristle brush for the rest.
- Rinse and dry thoroughly, especially the transmission (to avoid rust).
Well understood Clément, but I still have a question: how often should I wash my bike? Hmm... It depends on your practice. If you are an intensive or mountain bike rider, it is recommended to do it after each ride. If you ride your bike a little bit every day, do it every week; if you only ride it a few times a week, wash it every month, and so on.
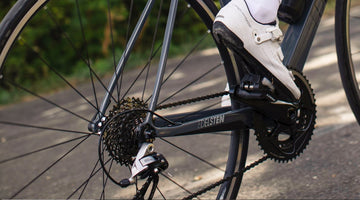
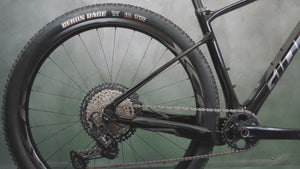
2. Lubricate your chain
Now that your chain is clean, i.e. dry and completely degreased, it is essential to lubricate it, in order to avoid any mechanical friction on the teeth of the group (and thus any premature wear), on the other hand, to protect it from moisture (and thus from rust). To do this, use this time a product lubricant drip it on the chain, while keeping it gently moving. Also, remember to play around with the sprocket and chainring settings to get it into all the right places.
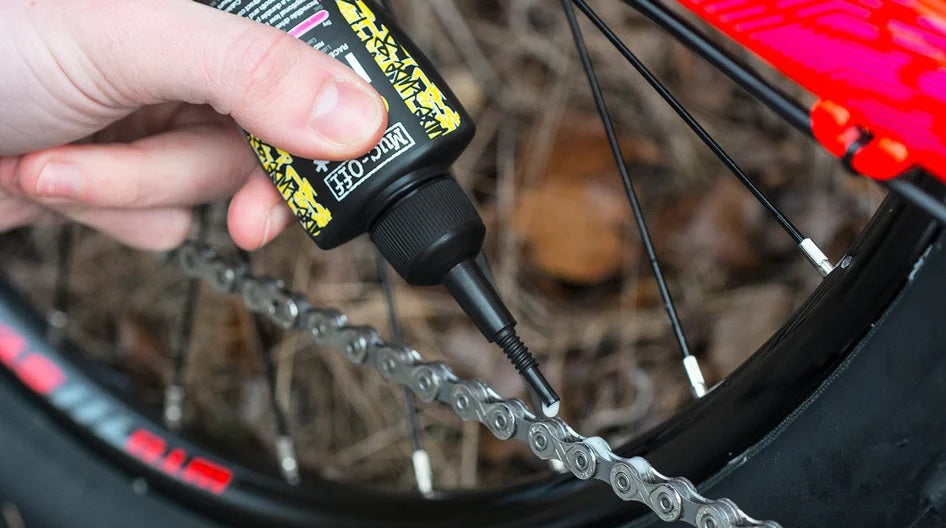
Lubricate your bike chain to increase its lifetime
One thing's for sure: regularly cleaning and lubricating your chain will increase its life. But that's not the only thing that matters: do you ride exclusively in dry weather or in all kinds of weather? 1000, 3000, 5000 km... it is not always easy to know when to replace your chain. Fortunately, there is now a tool to measure the wear: the chain wear indicator. Follow the guide!
3. Change your handlebar tape
Yes, but why? Mainly for two reasons: if it is damaged or of bad quality, your handlebar tape comes off and you don't find it very pleasant (we understand you); you want to give a new look to your bike by playing with its material or its color (and we understand you... too). Fitting a new handlebar tape can seem like a delicate operation, but it doesn't have to be! And as a nice tuto is better than a long speech (we get it, it may be harder to learn French than to change the tape).
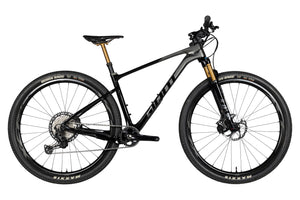
4. Adjusting your derailleurs
You feel discomfort when pedaling, are bothered by nasty noises and slowed down by nasty friction? Your transmission is badly adjusted, but be careful! You are touching the holy of holies of the machine: a performing transmission relies on a delicate balance between derailleur adjustment and cable tension; a quarter turn of a screw wrongly negotiated and you'll screw up everything. That's why, in case you're not as good with your hands as the great Colnago I'll probably advise you to visit your favorite bike shop/repair shop. He will help you out without a hitch, and certainly at a low cost.
If I haven't discouraged you (bravo), our maintenance guides for road bike and MTB will definitely help you.
5. Changing your cables
Like adjusting derailleurs, changing cables is not something I would recommend to the average cyclist. In fact, who said the rest of us were good mechanics ? You can find everything in the professional peloton! For the replacement of your cables and/or your brake and/or gear sheaths, I suggest you, once again, to call your favorite craftsman.
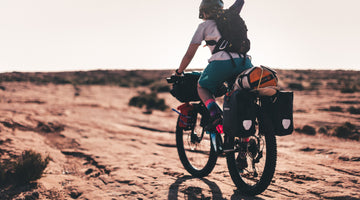
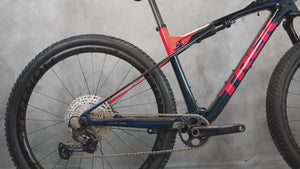
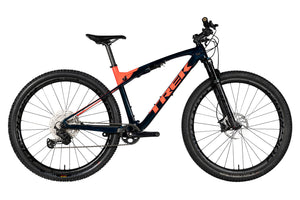
6. Change your tires
Most tires do not have a wear indicator (you know, that little hole that, when it is no longer visible, indicates that the tire is worn), you will have to judge for yourself the condition of the tread condition. Are there any cuts and has the section become progressively "square"? It's time to replace your tires! Don't panic, the handling is quite simple.
If you are using tubeless (i.e. tubeless), you should know that unlike conventional tires, they require regular maintenance: changing the tubeless fluid (also called preventive fluid) must be changed every two or three months. This sealing liquid loses its properties over time, so if you don't do it, you will be exposed to punctures again.
The good news is that it's a fairly quick process: if you haven't changed the type of fluid (if you're using the same one as last time), there's no need to remove the tire. After deflating your tire and removing the removable part of the valve, you will suck out the remaining fluid with a syringe, then inject the new fluid - around 40 mL for road bikes and 80 mL for mountain bikes (follow the manufacturer's instructions).
Finally, don't neglect inflating your tires. In addition to tiring you unnecessarily, low tire pressure can accelerate tire wear. For more information, click here.
7. Change your brake pads
When should I change my brake pads? When you notice that your disc brakes are no longer as responsive as they used to be, that they make an abnormal noise when braking a little hard, or that they simply lack bite, it's time to replace your pads. As for the rim brakes the rubber of the pads usually has grooves. When these patterns are gone, it's time to replace them.
To learn more about braking and braking trends, check out our article.
8. Bleeding your disc brakes
When they are of the type hydraulic (not mechanical), your disc brakes may suffer, over time and with use, from the presence of small air bubbles in the circuit. There is nothing like this to to regain the original braking power, to proceed to an annual bleeding. Tuto !
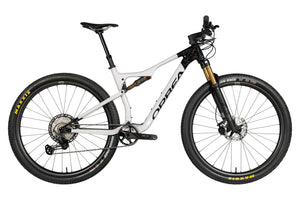
9. True your wheels
Lateral truing of your wheels? This is a very simple and complex operation. Simple, because you just have to place yourself in the wheel axis and tighten the spokes on the side where you want to bring the rim back. Complex, because it's not enough to reason spoke by spoke (the most common mistake is to overtighten one of them), but by "bundles" of spokes. That being said, you have to start sometime (or not).
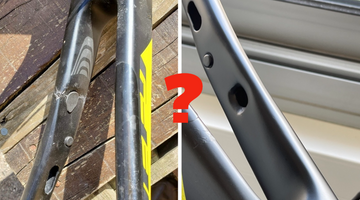
10. Tightening the screws
Over time, vibrations can cause some bolts, screws or nuts to loosen. That's why it's a good idea to check them periodically, every few months for example. Don't just rely on feel; use a torque wrench and follow the manufacturers' specifications component by component (sometimes printed on them). Don't tighten as hard as I do, you might break everything.
Conclusion
You are now aware of the 10 most common interventions done on a used bike. You are more knowledgeable, but also more responsible: maximizing value of your bike has never been easier. More seriously, what we think is important to remember is that you don't have to be a mechanic to keep a close eye on your bike. If something seems wrong, chances are it is.
Depending on the tools and space you have available, but especially on your mechanical aptitude, you will decide to take care of some of the operations listed above, and to leave the others to a professional. Apart from the first two (cleaning and lubrication, which should be done at regular intervals), you can opt for a complete overhaul of your bike, let's say every six months, during which your bike dealer will review the different points for you. It's a good solution, adopted by more cyclists than we think. See you soon😉